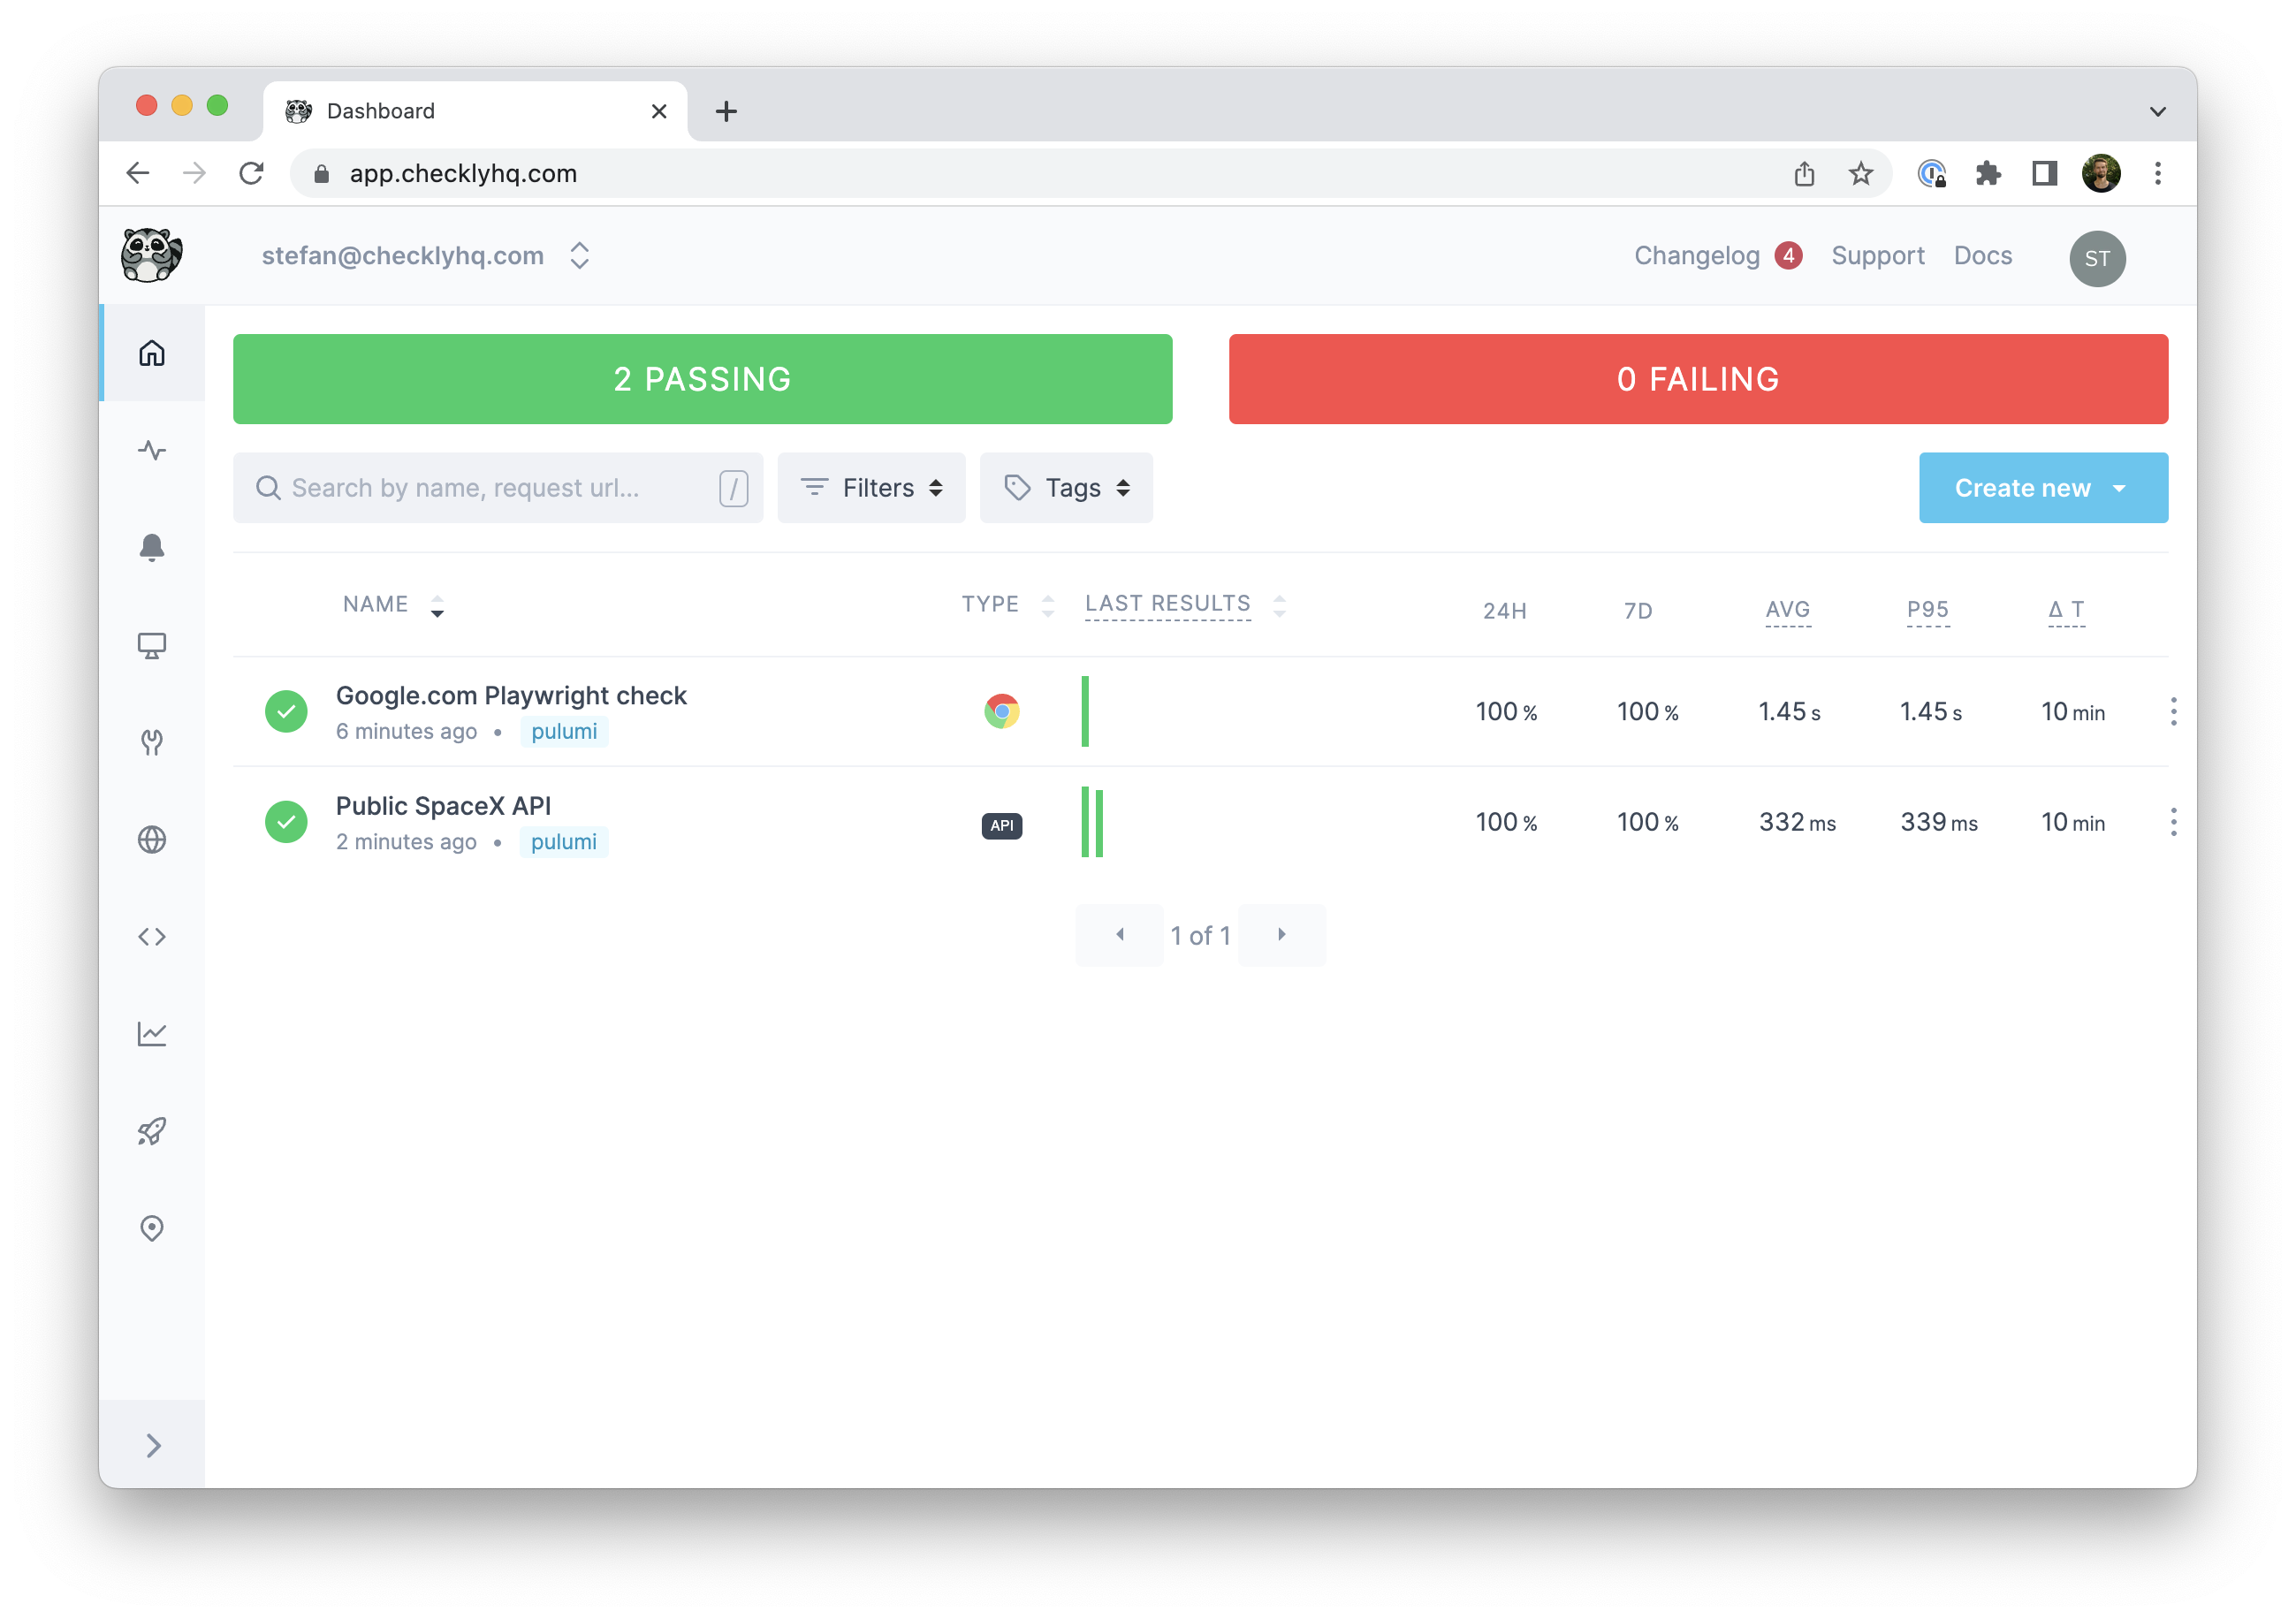
Getting started
Learn how to create, configure and sync your checks by following this getting started guide.Pulumi CLI setup
Before getting started and writing your monitoring setup in code, you have to set up Pulumi and its CLI. Create a new Pulumi account and install the Pulumi CLI. Thepulumi command should then be available in your environment.
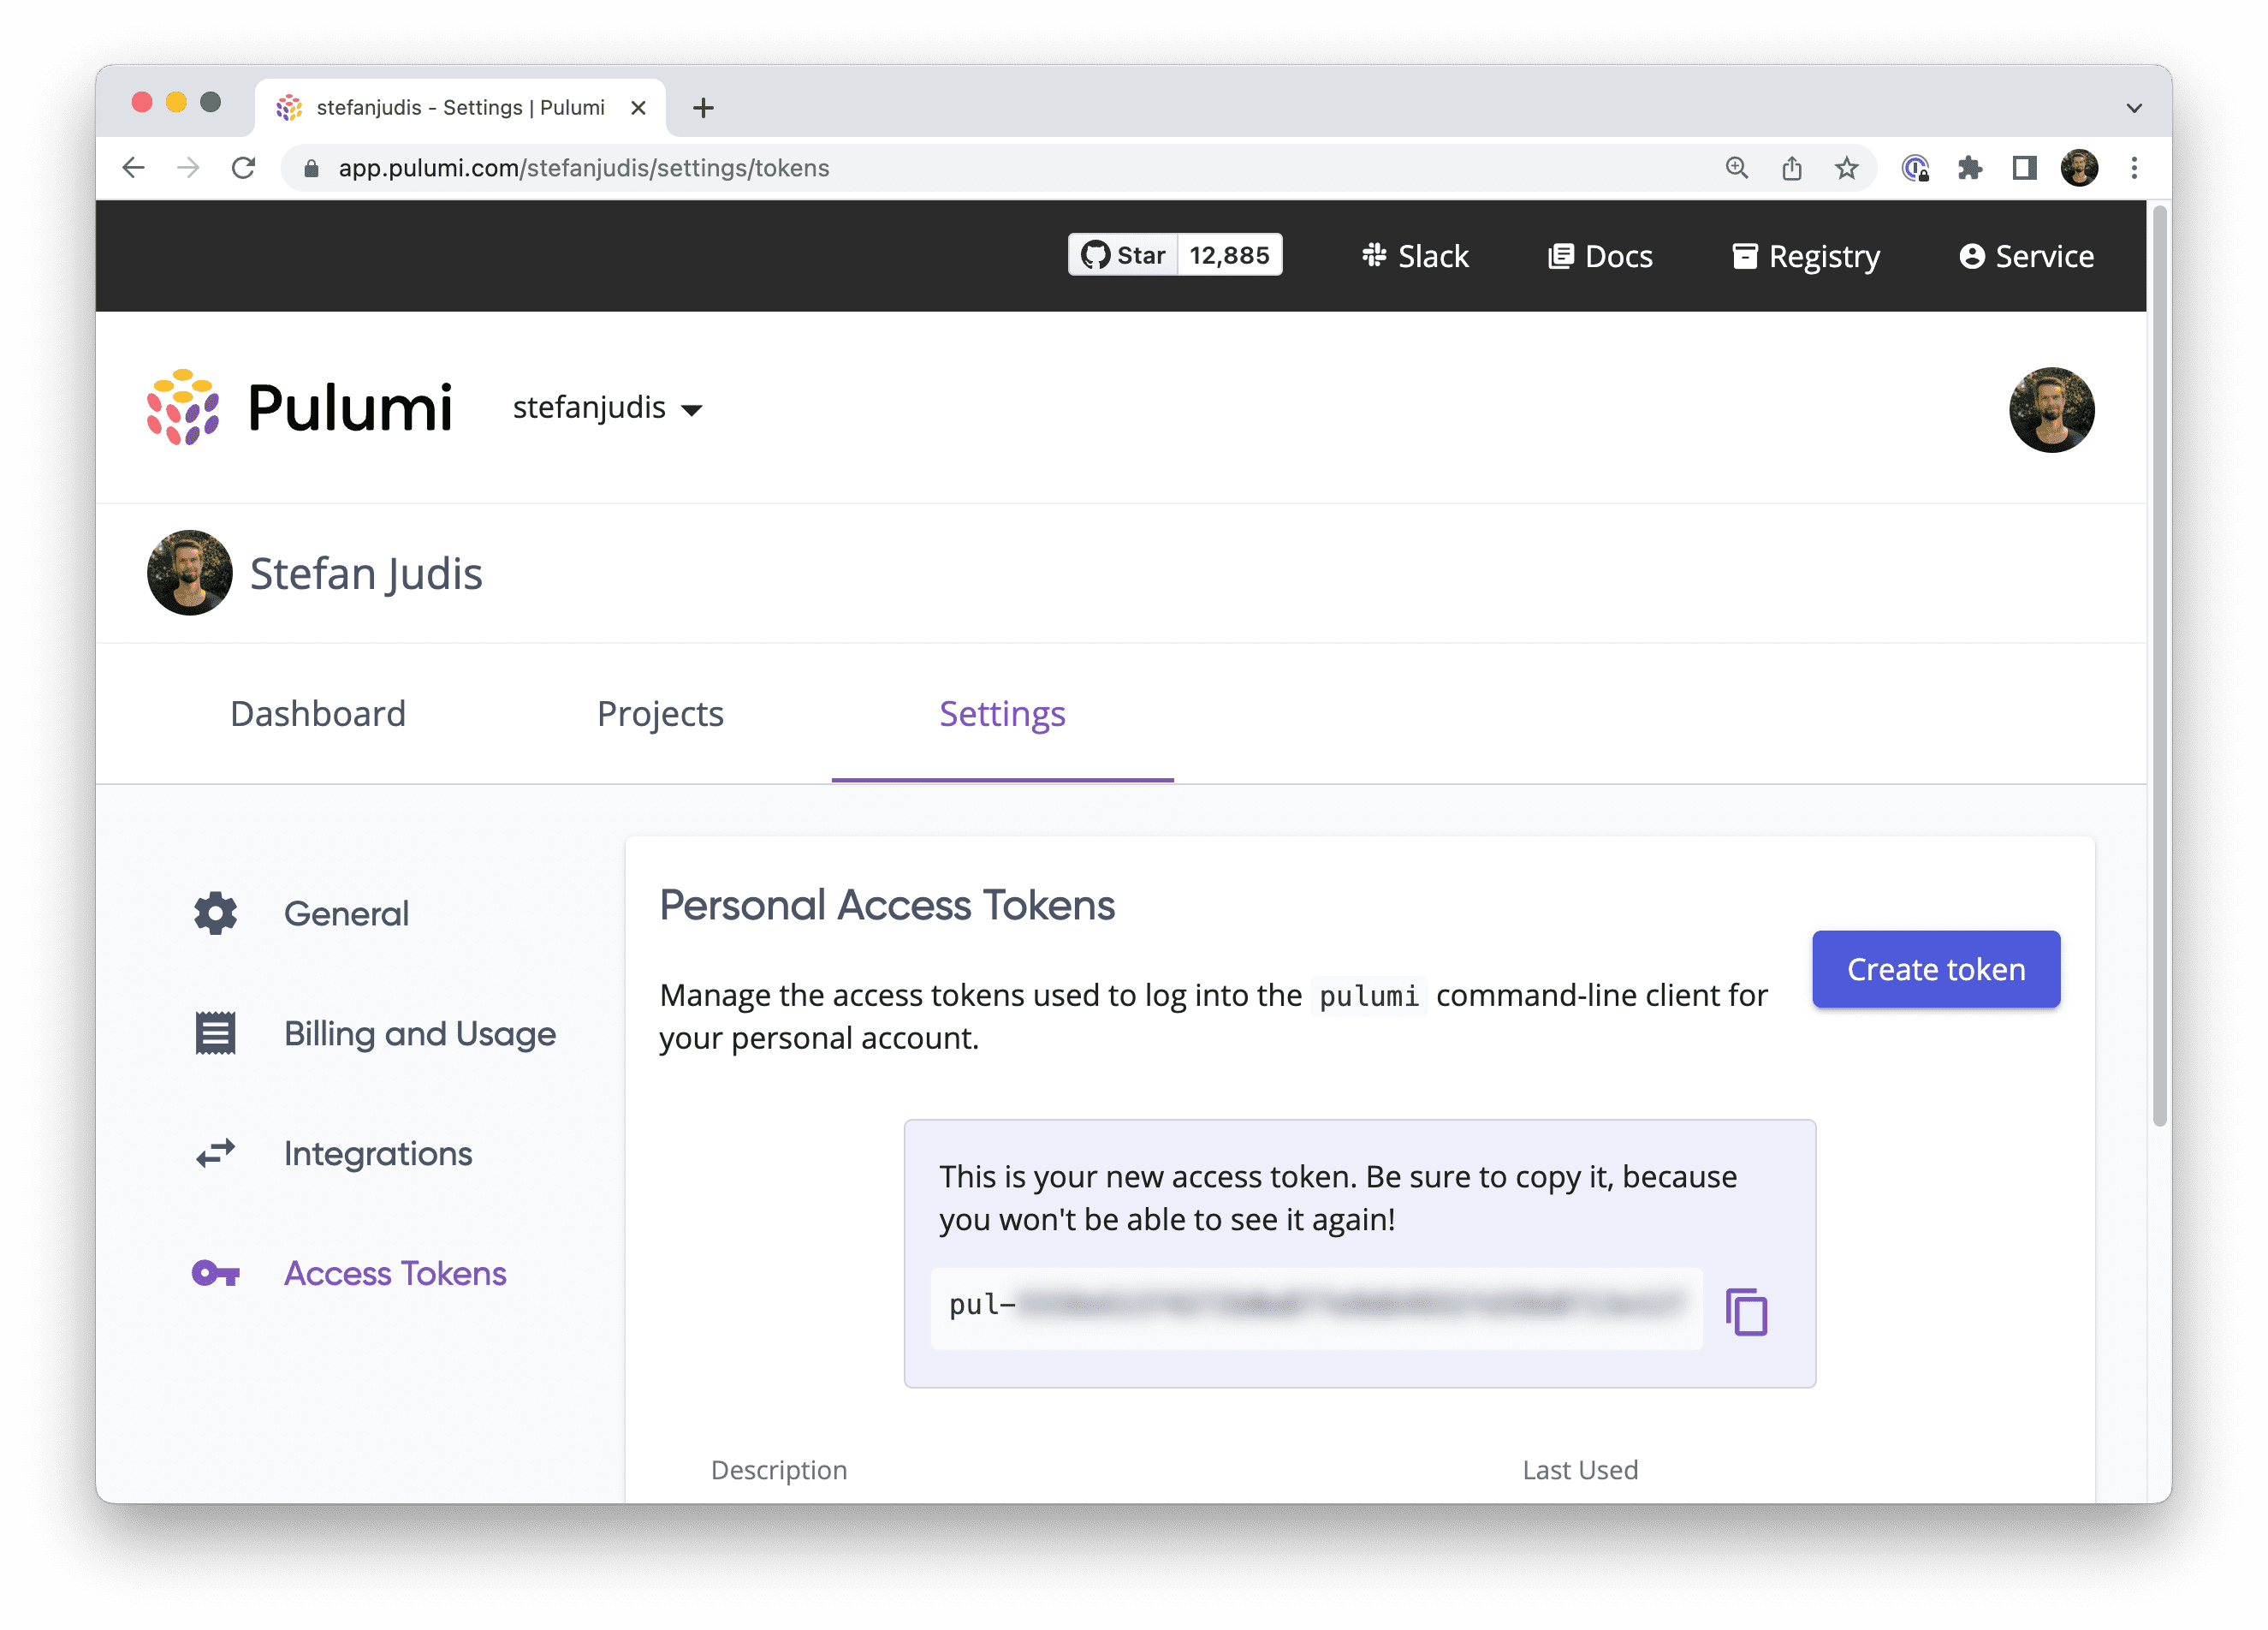
pulumi login and provide the token.
whoiam command should return your username after a successful login.
Create a new Pulumi project
Create a new directory for your Pulumi project and navigate into it.pulumi new and choose the minimal JavaScript template (javascript).
ls and make sure that a Pulumi.yaml, package.json and index.js file are available.
Define your Checkly account ID and API key
To interact with the underlying Checkly API, provide your Checkly account ID and API key by defining those in your environment. Your account ID is accessible at app.checklyhq.com/settings/account/general.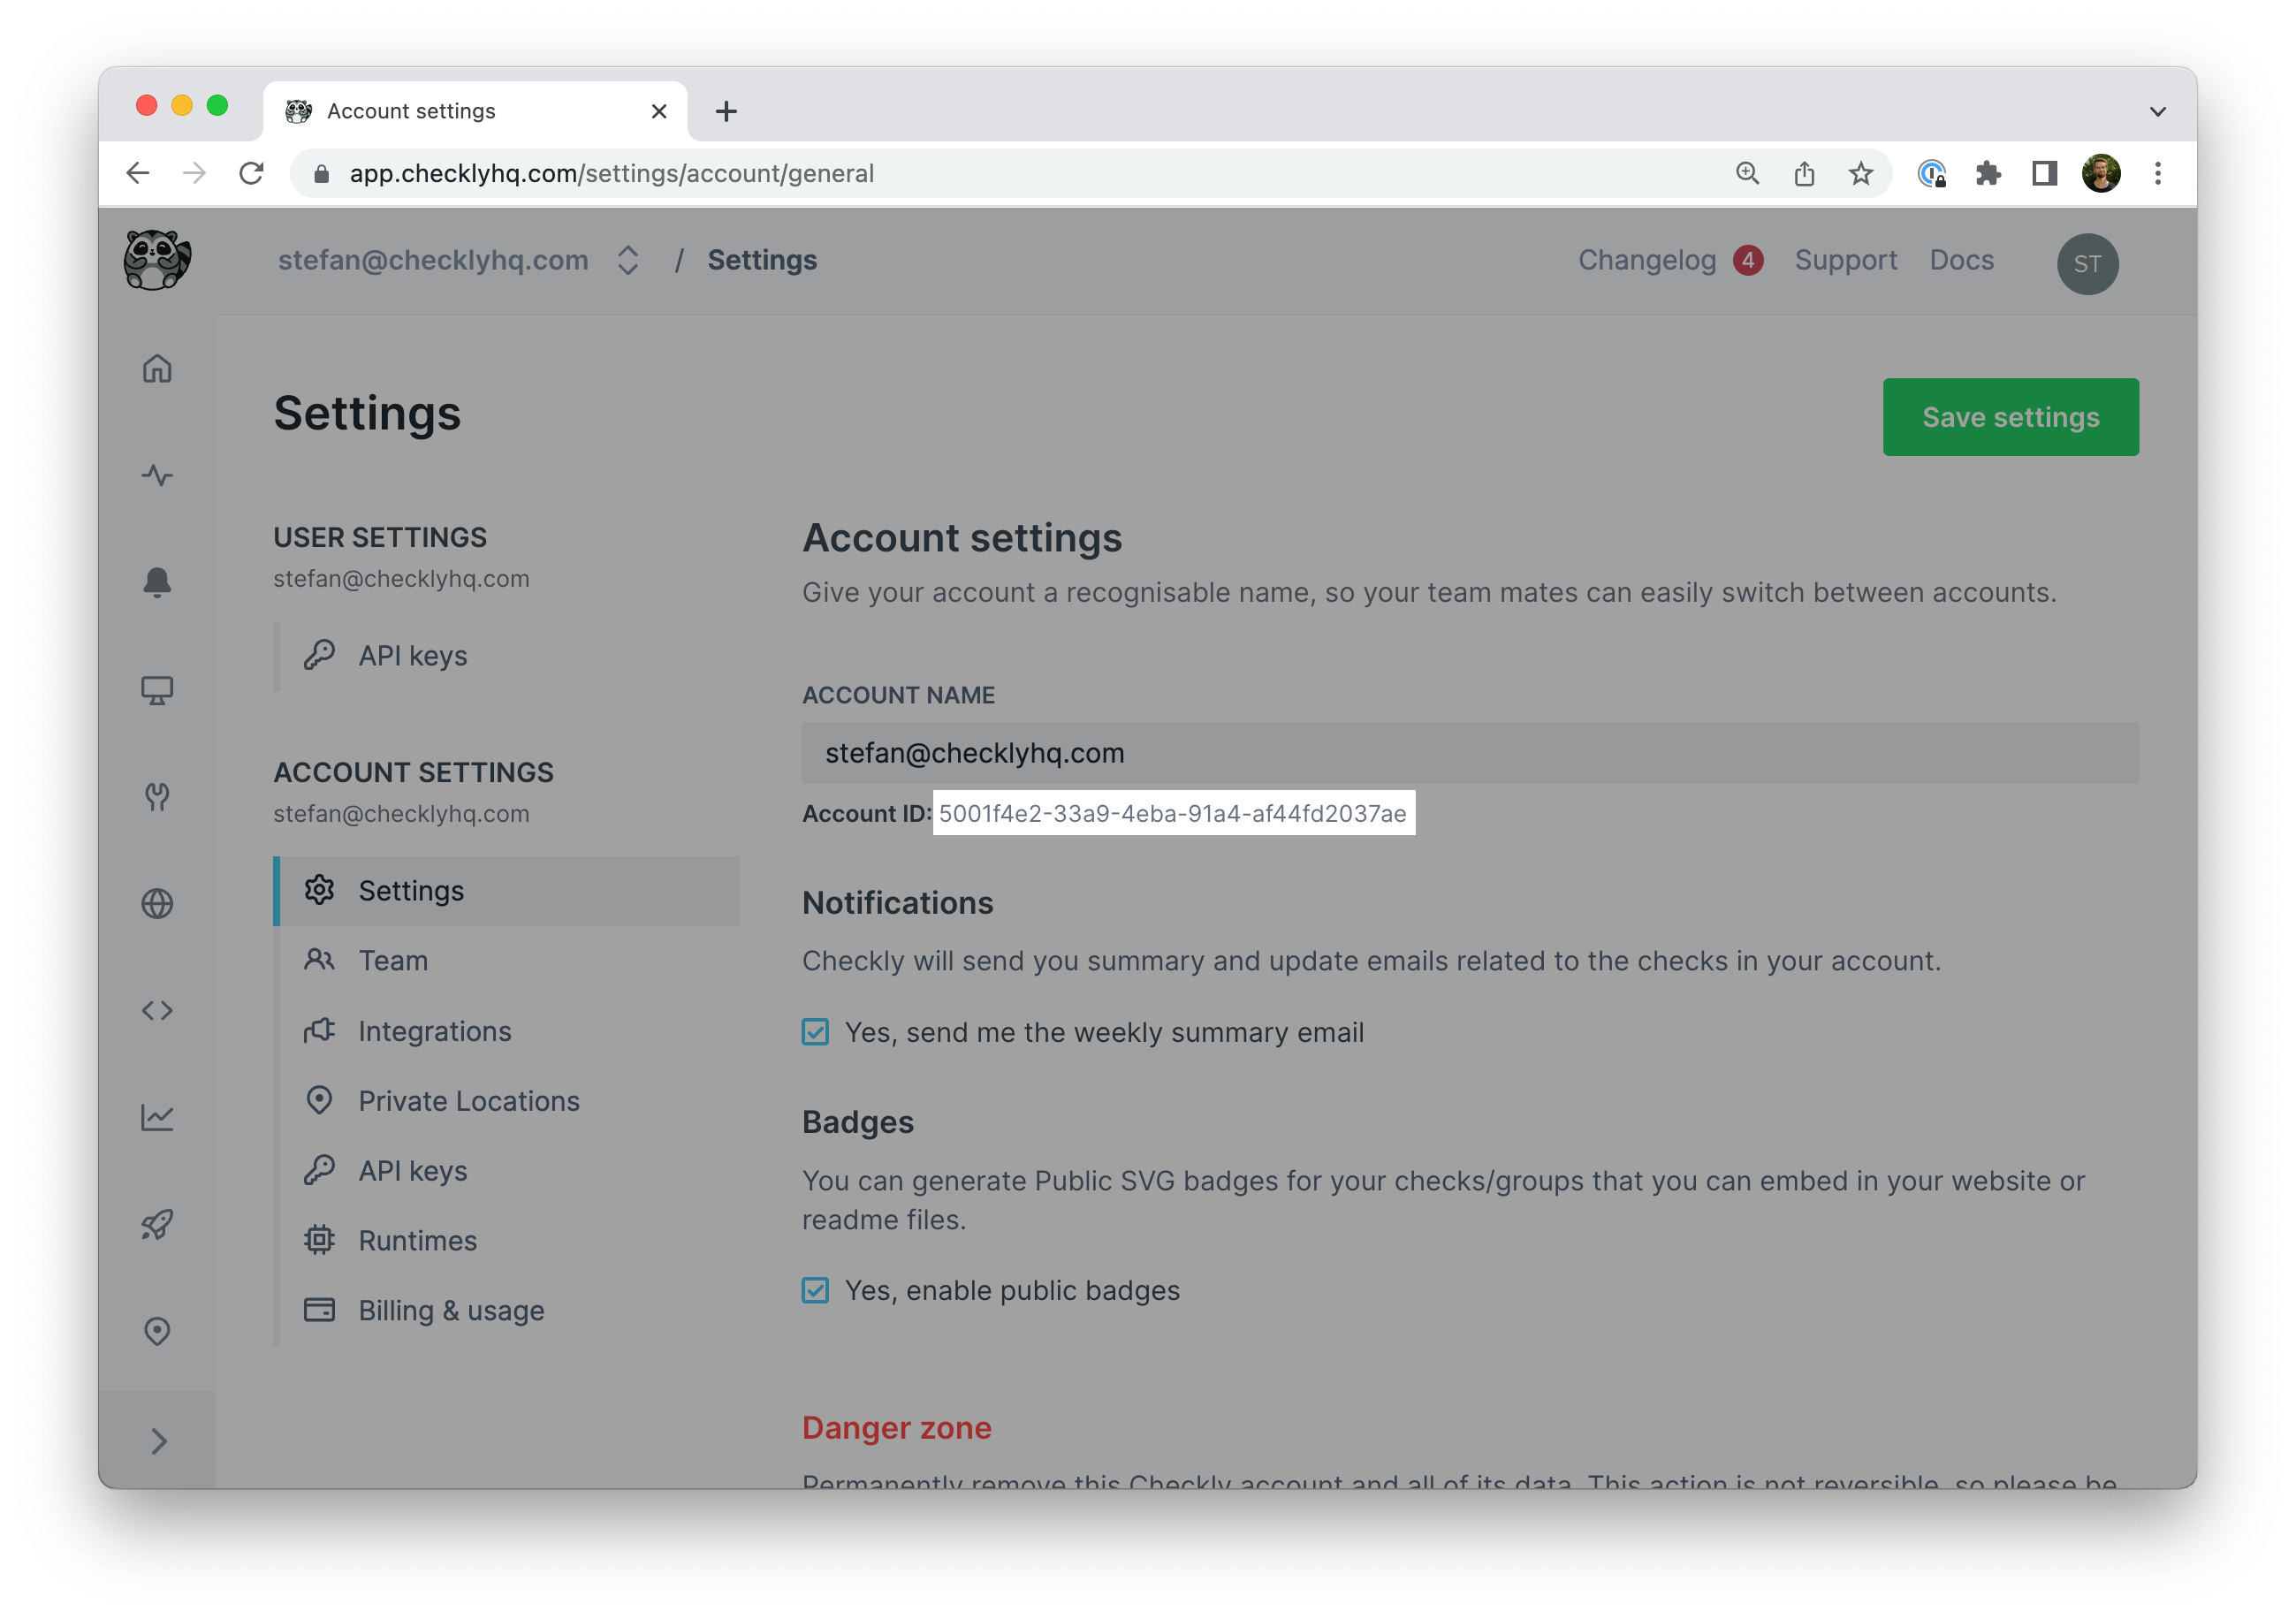
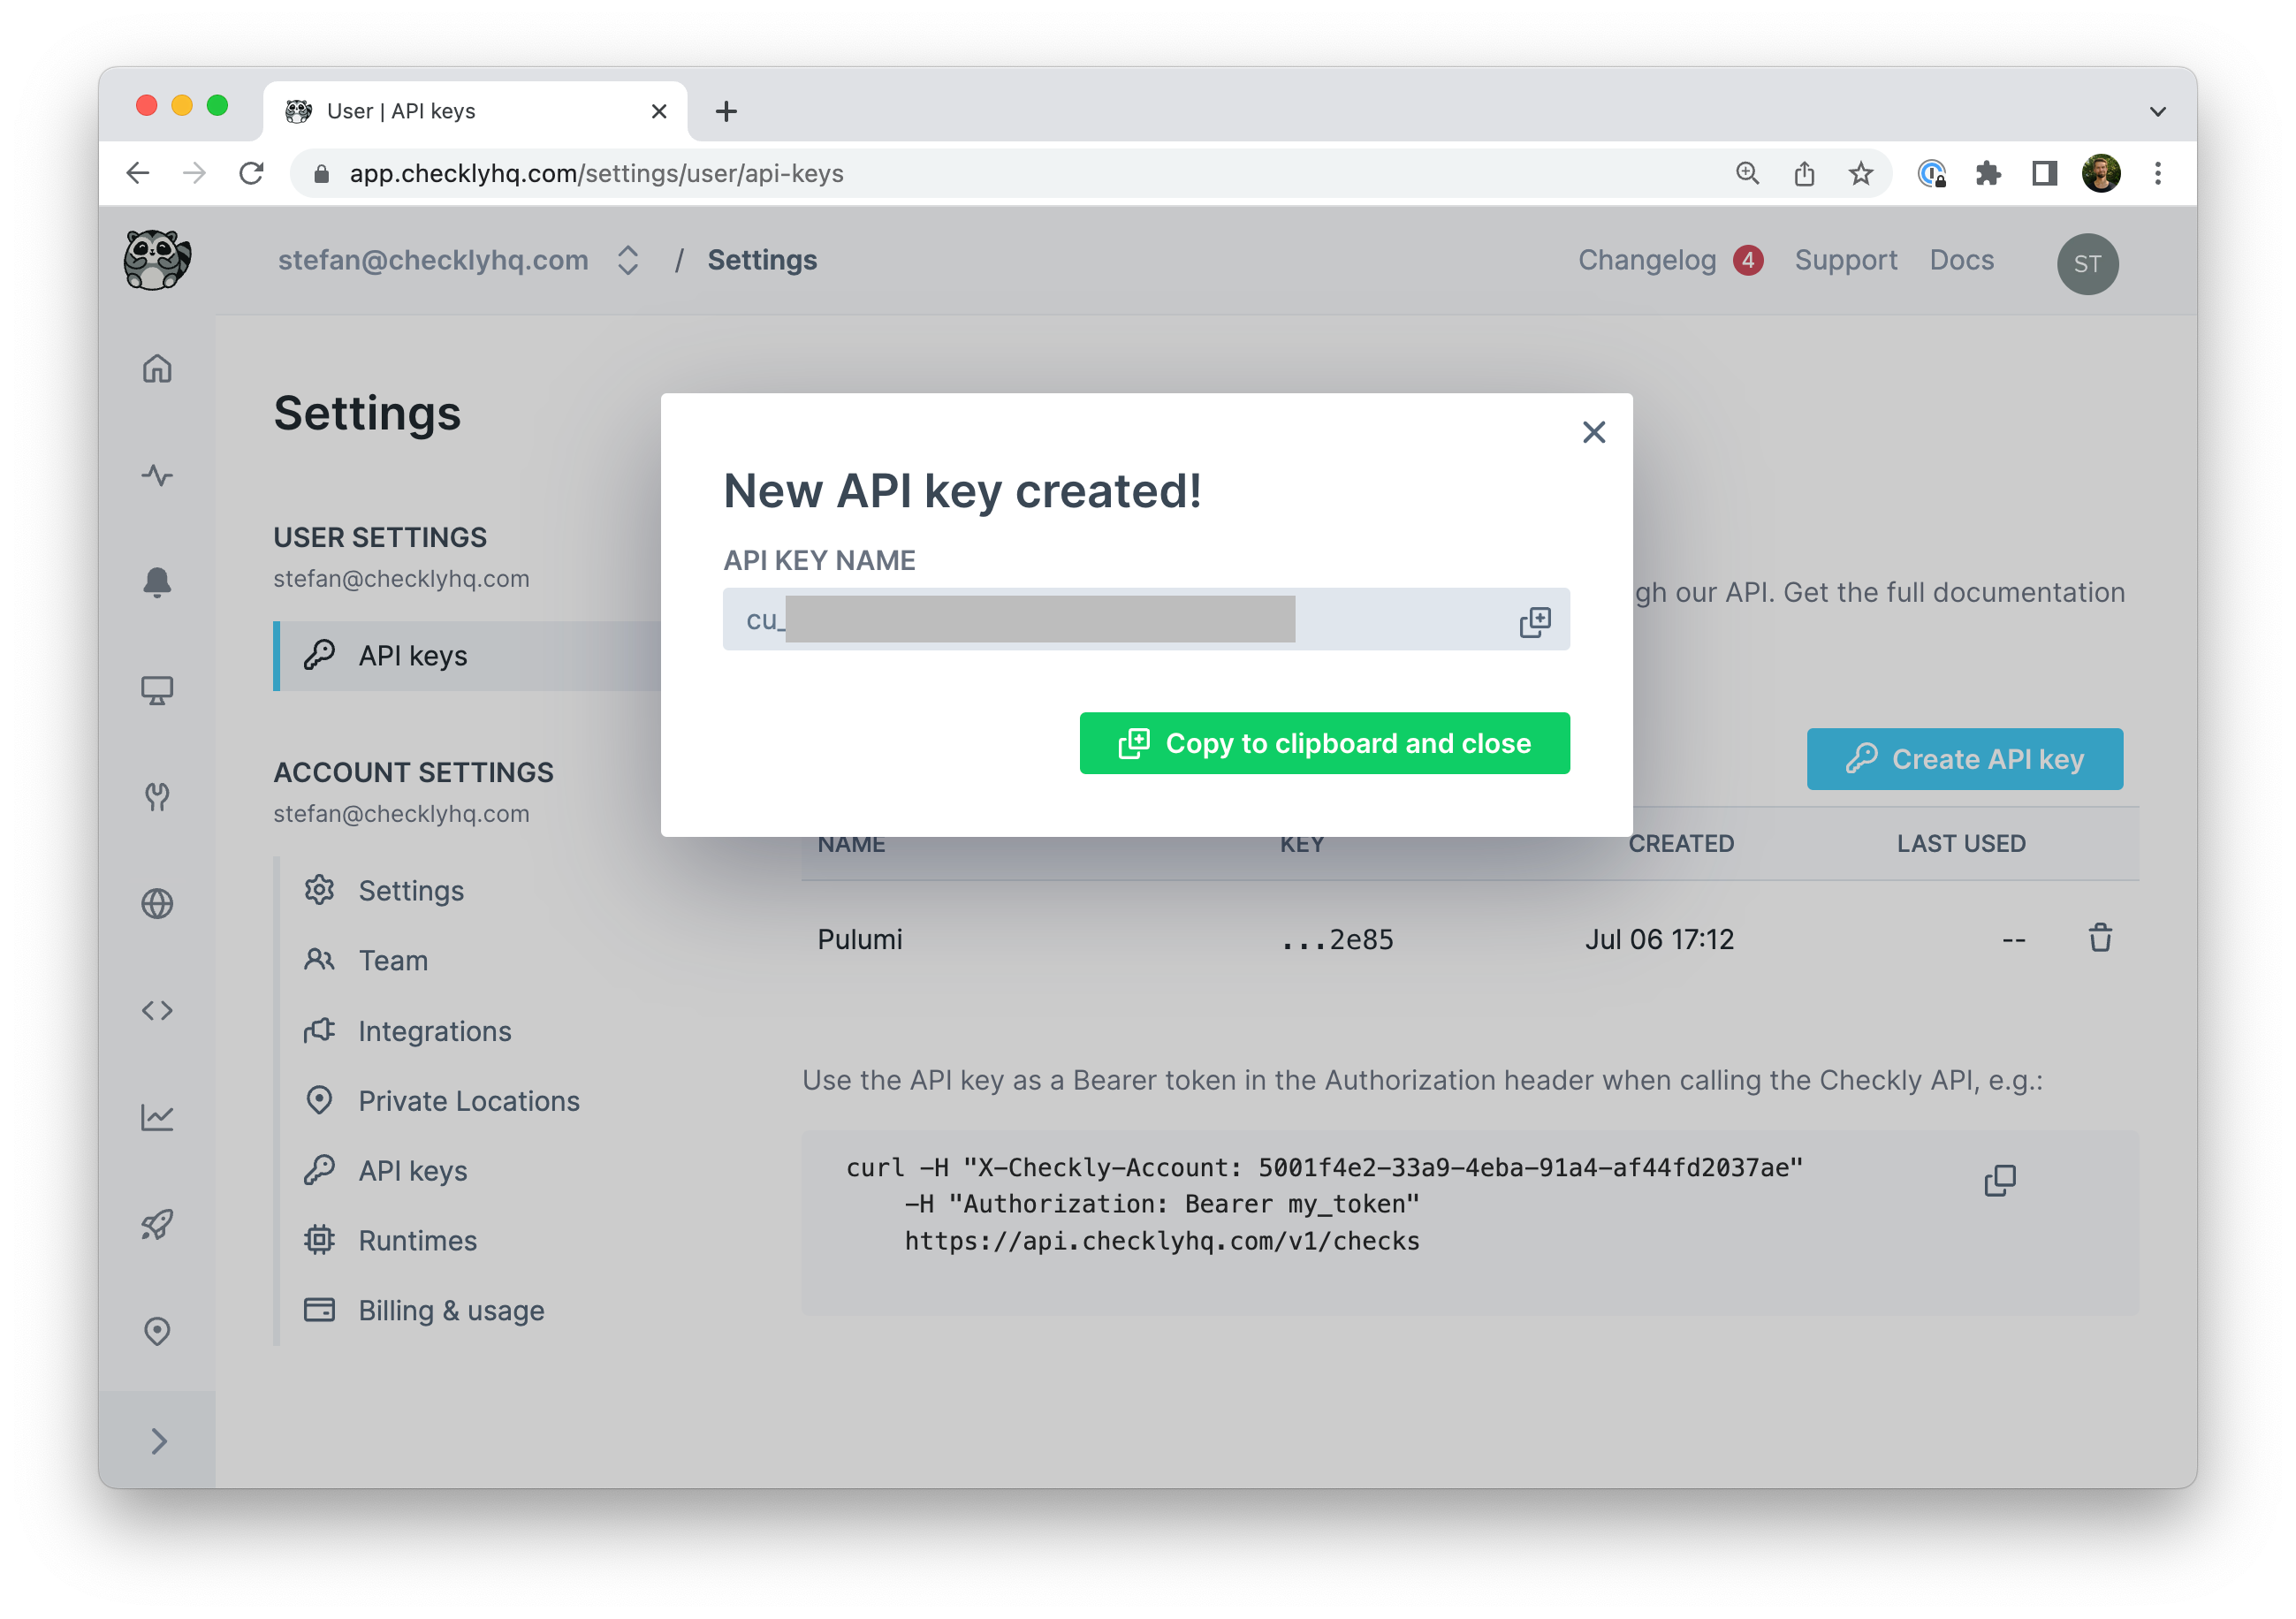
If you prefer storing your configuration alongside your Pulumi stack for easy multi-user access, use pulumi config set.
Install the Checkly Pulumi Provider
Install the Checkly Pulumi provider (@checkly/pulumi) with yarn or npm to integrate it in your new project.
index.js and require it on top of the file.
checkly object provides resources such as AlertChannel, Check, and CheckGroup, enabling you to define and configure your entire Checkly monitoring setup in code.
Add the following Check definition examples to the index.js.
Examples
How to create your first API check
How to create your first Browser check
browser-check.js
Creating checks and applying changes
Yourindex.js file should now include instructions to create one API and one Browser check.
Initialize a deployment and apply your changes by running pulumi up.